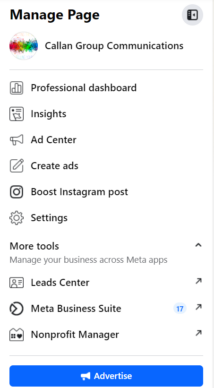
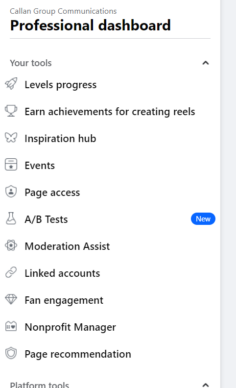
Adding an admin to your Facebook Business Page allows others to manage your page, post updates, and respond to messages. Here’s a simple guide to adding an admin.
Steps:
- Log in to Facebook:
- Go to Facebook.
- Sign in with your credentials.
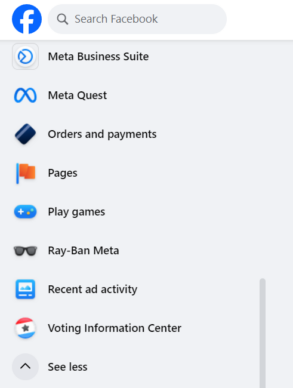
- Access Your Business Page:
- Click on Pages in the left menu, and select the page you want to manage.

- Switch into the Page:
- Switching into the Page allows you to act as the page and not from your own personal Facebook, thus opening up more business options for you.
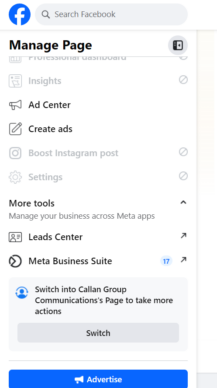
- Once switched with more options available to you, go to Professional Dashboard:
- Scroll and click on Page Access:
- Click to add Facebook Access and/or Business Profile Access:
- There are a few different levels of access you can grant someone on Facebook:
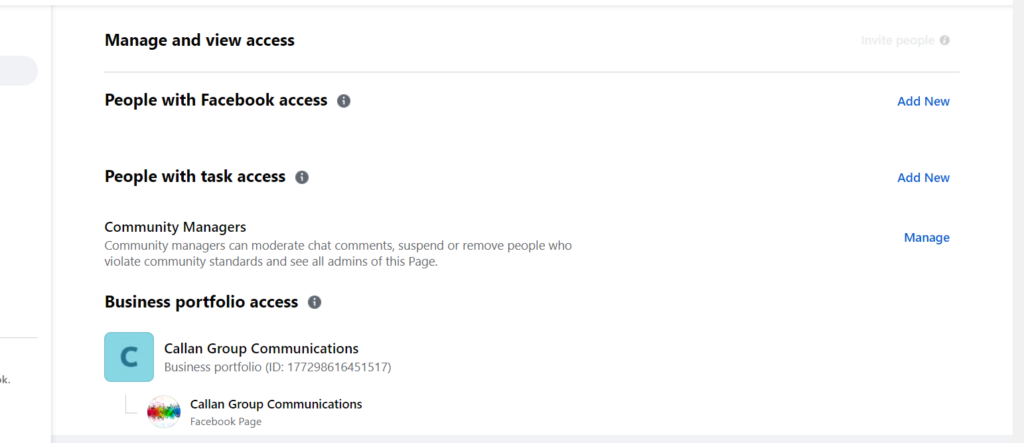
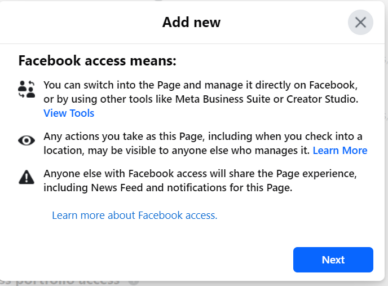
- Facebook Access allows people to switch into the Page and manage it directly on Facebook, or by using other tools like Meta Business Suite or Creator Studio. This is the minimum level of access CGC requires for most cases.
- People with Task Access can’t switch into the Page on Facebook, but they can manage specific tasks using other tools like Meta Business Suite or Creator Studio.
- Business Portfolio Access allows organizations to bring their Facebook Pages, Instagram accounts, ad accounts, product catalogs and other business assets together, so they can manage them from one place with business tools such as Meta Business Suite and Business Manager. We might recommend this option to allow CGC to best manage all your assets in one place.
- There are a few different levels of access you can grant someone on Facebook:
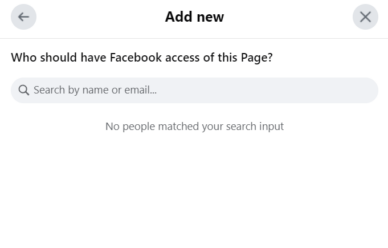
- Add a New Admin:
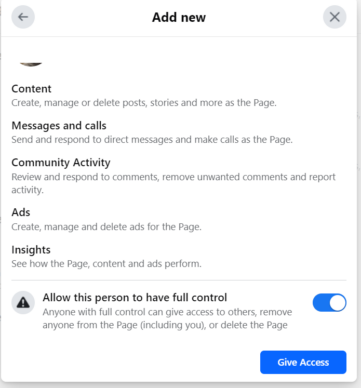
- Hit Give Access.
- Note: CGC might require full control in order to take care of certain matters for you on the Facebook backend.
- Confirmation:
- The person will receive a notification and must accept the role. Once they do, they’ll have admin access to your page.
Adding CGC as an admin to your Facebook Business Page is a crucial step in how we ensure your page is always active. Need help? Our team is here to support you!


